
A brute-force attack is simple: a bot tries thousands of passwords until one works. It's noisy, and that noise is exactly what makes it easy to catch, if you know how to count.
In this lesson you'll make the attack yourself, on your own machine, and then find it.
Step 1: Create some failed logins
On your Kali VM, start SSH and try to log in with wrong passwords a few times:
sudo systemctl start ssh
ssh fakeuser@127.0.0.1
Type any password when asked, and repeat the ssh command five or six times. Every attempt fails and gets logged.
Step 2: Count failures per IP
Here's the one-liner every analyst learns early:
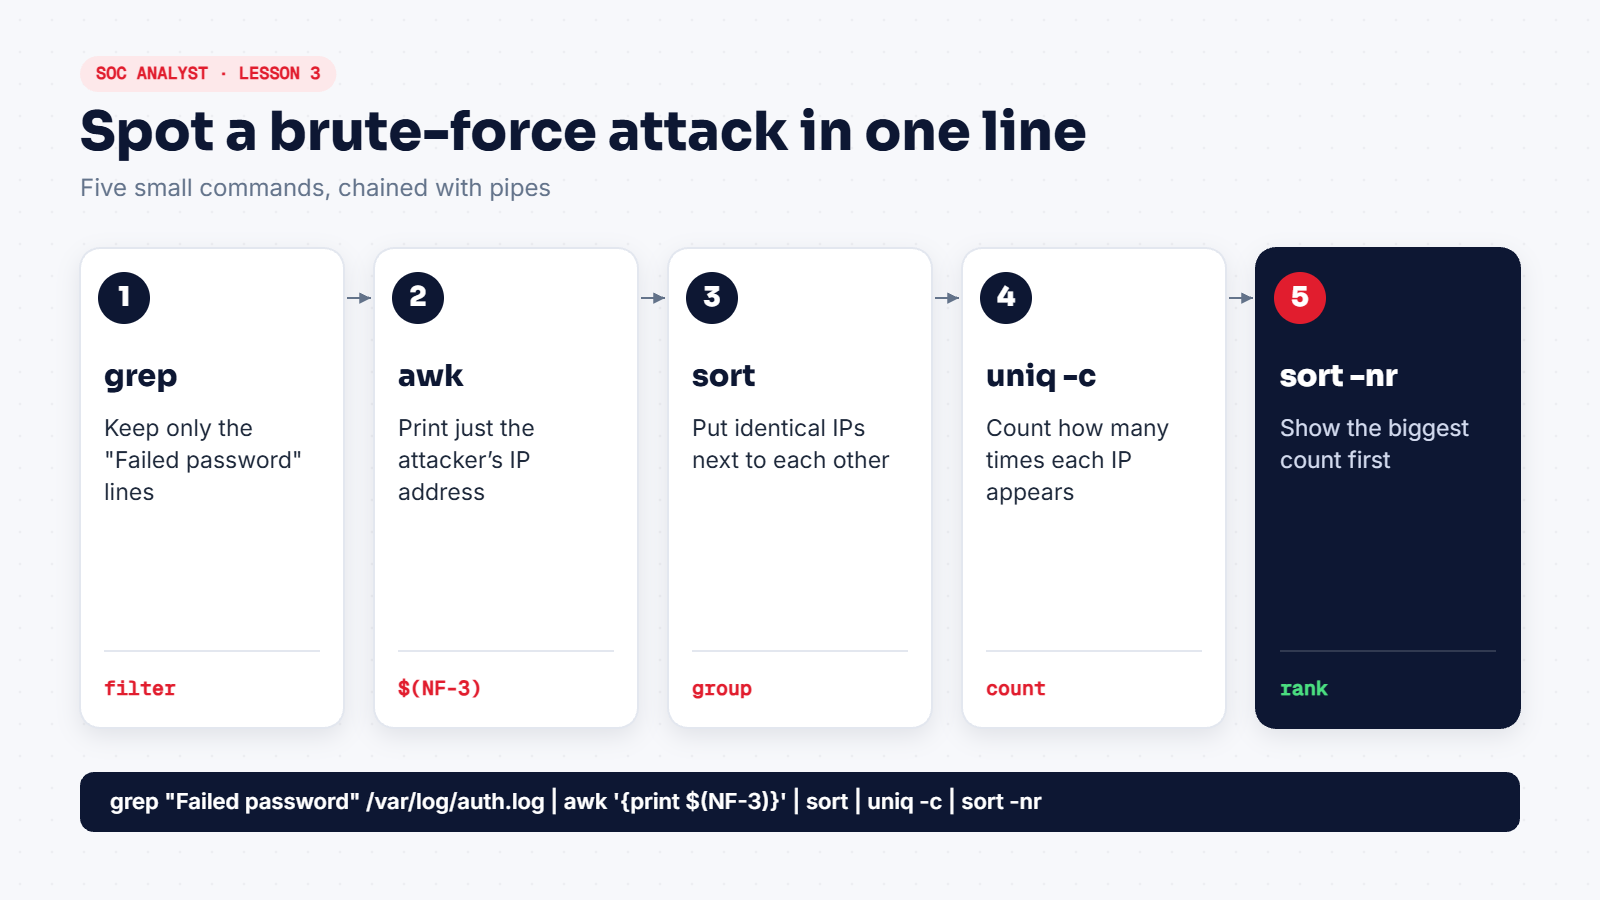
sudo journalctl -u ssh --no-pager | grep "Failed password" | awk '{print $(NF-3)}' | sort | uniq -c | sort -nrIf your system has /var/log/auth.log, you can use grep "Failed password" /var/log/auth.log as the first part instead.
How it works: a failed line ends with ... from 203.0.113.45 port 51234 ssh2. Counting from the end, ssh2 is the last field, the port is one before, the word "port" before that, and the IP is fourth from the end. That's $(NF-3) in awk.
Step 3: Read the result
On a real internet-facing server, you might see something like this:
     38 203.0.113.45
      6 198.51.100.7
      1 192.168.56.1
38 failures from one address in a short time is a brute-force attempt. One failure from your own lab network is probably you mistyping.
Step 4: The question that really matters
Failures alone are noise. What you must check is whether the attacker eventually succeeded:
sudo journalctl -u ssh --no-pager | grep "Accepted" | grep 203.0.113.45Many failures followed by an Accepted password from the same IP is a real incident. Escalate it straight away.
How defenders stop it
- Block the IP:
sudo ufw deny from 203.0.113.45 - Turn off password logins and use SSH keys instead.
- Use fail2ban, which bans IPs automatically after repeated failures.
The IPs above are from ranges reserved for documentation, so they're safe to use in examples.